How much
time this event will take to finish?OK, Let's countdown the time.So a
stopwatch is the best solution.Just press the start button to start
countdown then stop when the event completed.Now every cellphone has
this feature but i was determined to make a digital stopwatch using
micro controller as I am very fond of this type of works.
This project is about to make a digital stopwatch.
Whole project is simulated in Proteus 7.
MikroC is used to write the code.
This video demonstrates the project:
The circuit is easy and we just need
- PIC16F73(1pc)
- 16x2 LCD(1pc)
- Push Button(3pc)
- 20 MHZ Oscillator(1pc)
- START Button
- PAUSE Button
- STOP Button
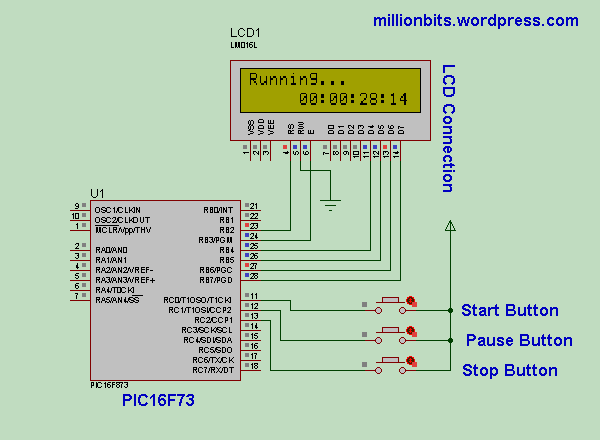
Just make the connections as the figure shown.
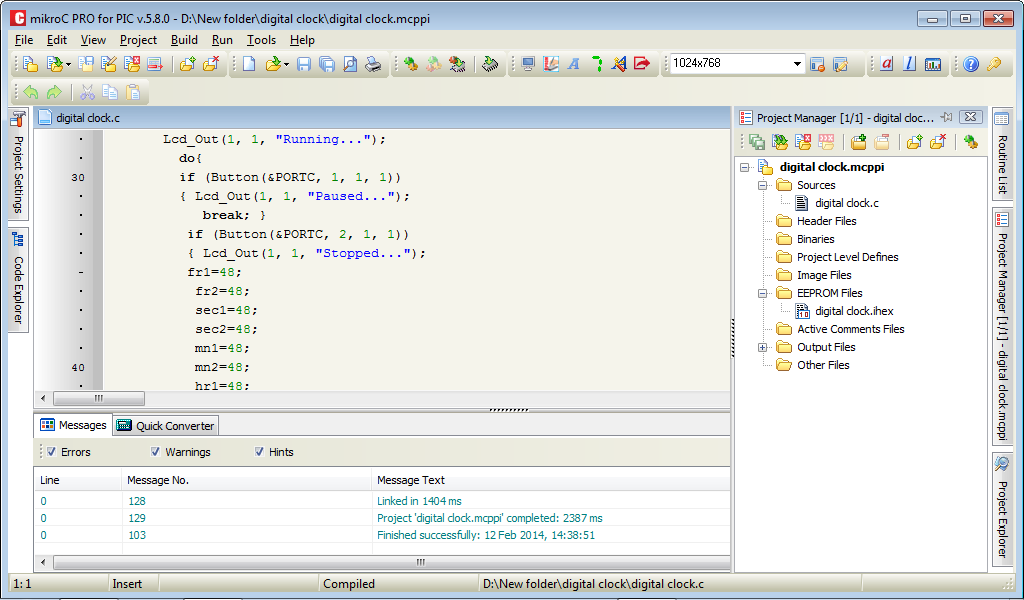
This project file is compiled in MikroC Pro 5.8.0.
You need the hex file and I share whole project code. You can download from here.
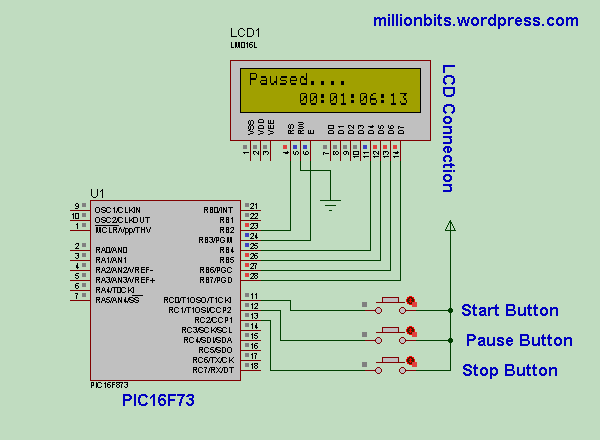
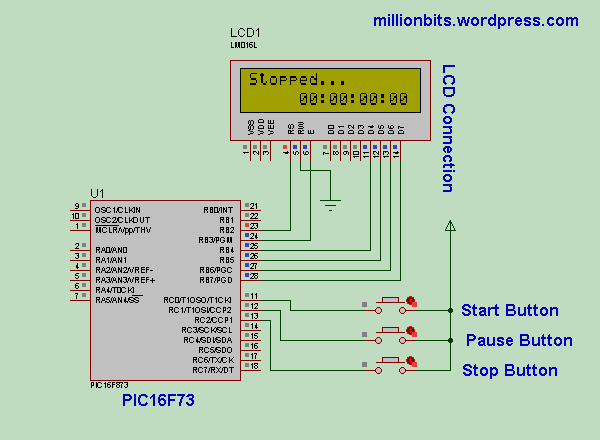
Figures below are shown, is captured from proteus 7 professional.

After pressing START Button stopwatch is running
 After pressing PAUSE Button stopwatch is paused
  After pressing STOP Button stopwatch is cleared.
 Connection Detail:
- PIC RB2 ---- LCD RS
- PIC RB3 ---- LCD EN
- PIC RB4---- LCD D4
- PIC RB5----LCD D5
- PIC RB6----LCD D6
- PIC RB7----LCD D7
- GROUND----LCD R/W
- PIC RC0----START BUTTON
- PIC RC1----PAUSE BUTTON
- PIC RC2----STOP BUTTON
- 20 MHZ OSCILLATOR IN XTAL PINS
- PIC VCC 5V

Now just take breadboard and make connections. Download the HEX file from here.
Load the HEX file to the pic microcontroller.
Give power to the board and press the buttons to see the output in LCD.
Any Complexity ? Or Facing Problem ?? Just put comment. I shall try to help.
As I have shared the whole project code you can modify the code in MikroC as you need. Download all necessary files including schematic, code from below. Digital Stopwatch Using PIC MicroController.


Currently have 0 comentarios: